In this company update we take a dive into one of our employees personal projects.
🛀🔧
Being a skilled installer goes beyond the day-to-day abilities and responsibilities of being an electrician, in this update our electrician and director Luke will walk you through the journey from start to finish of a family bathroom renovation.
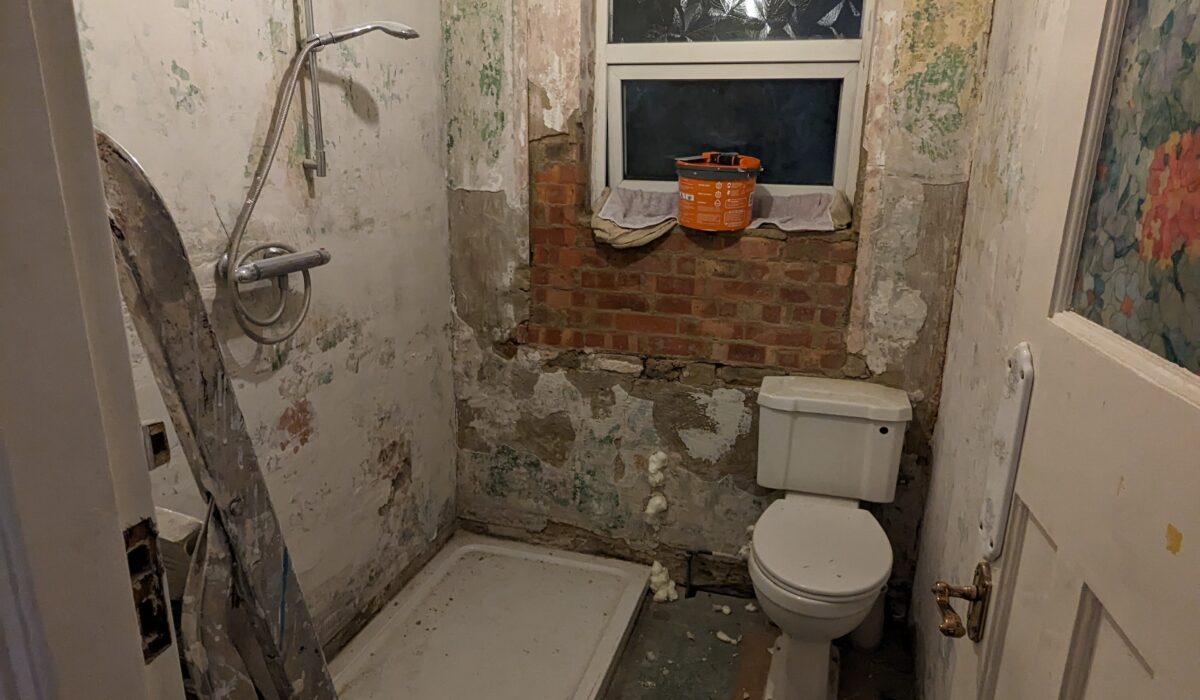
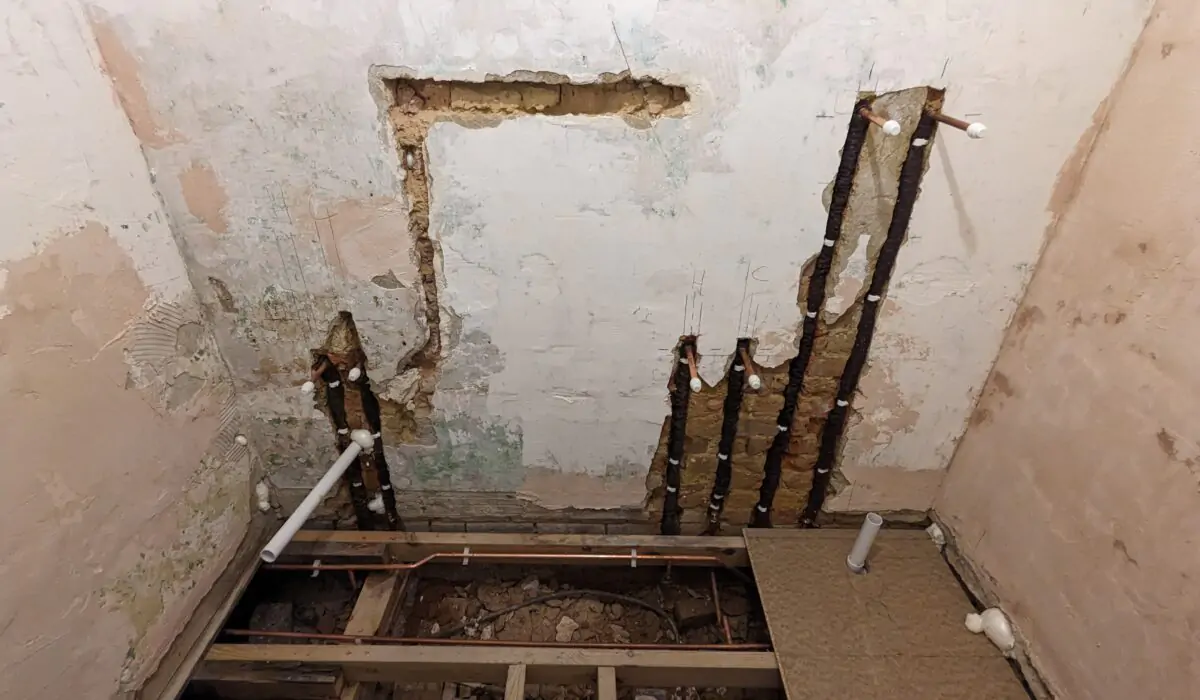
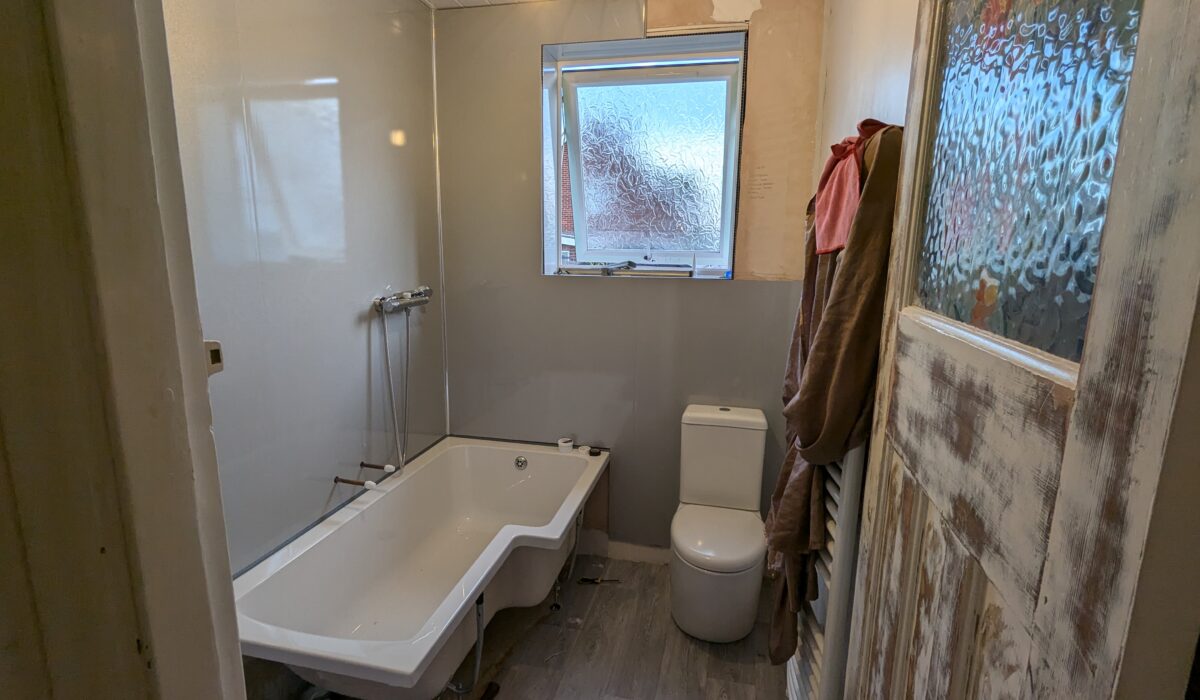
Beginning shot of the room after the majority of fixings were stripped out, you can see the poor state of the walls
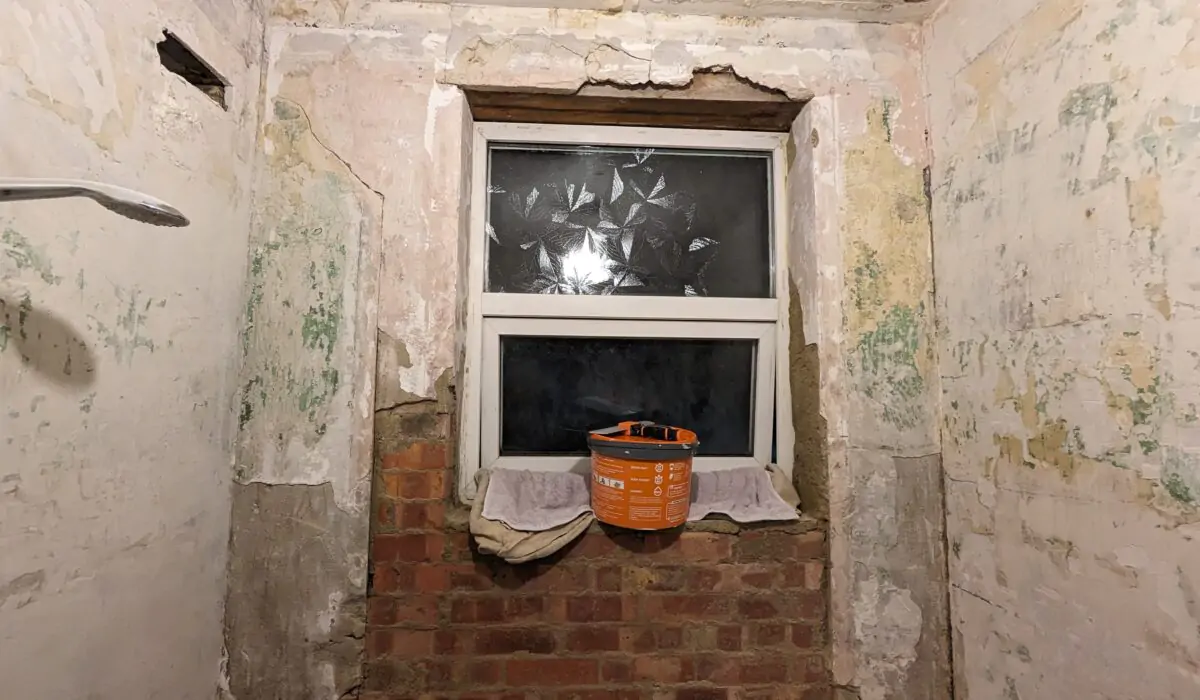
Outer wall felt wet and the plaster had become weak and fell away during removal of the old tiles
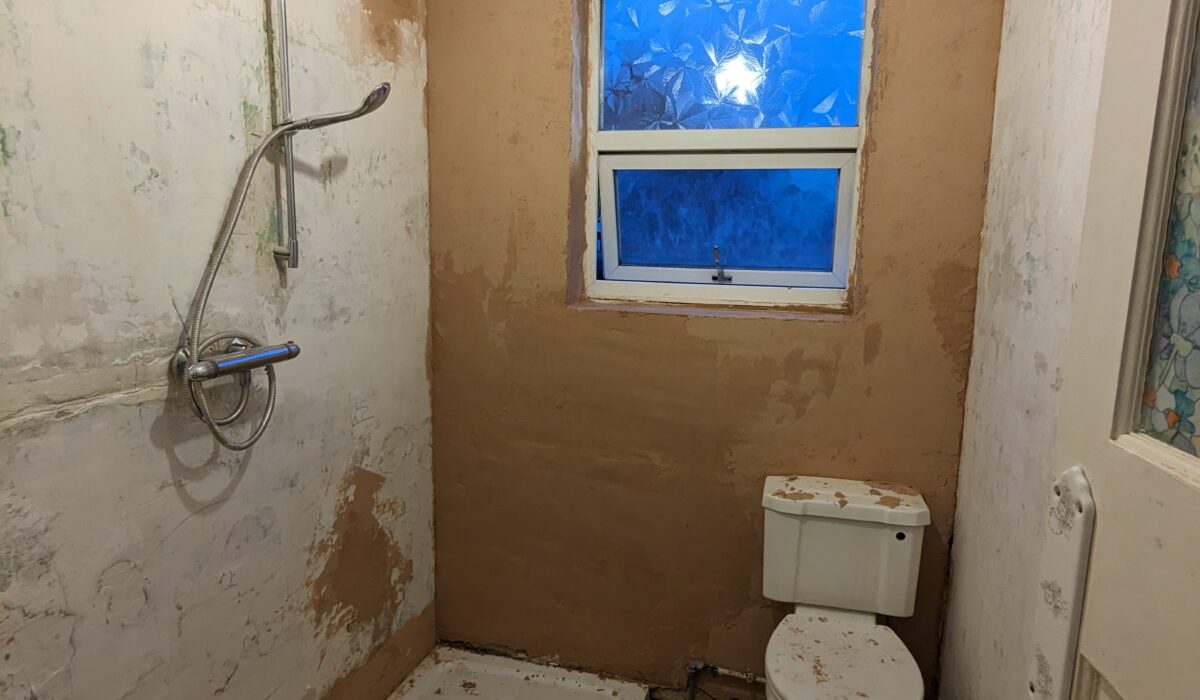
Outer wall repaired with hard wall and smoothed, ready for panelling
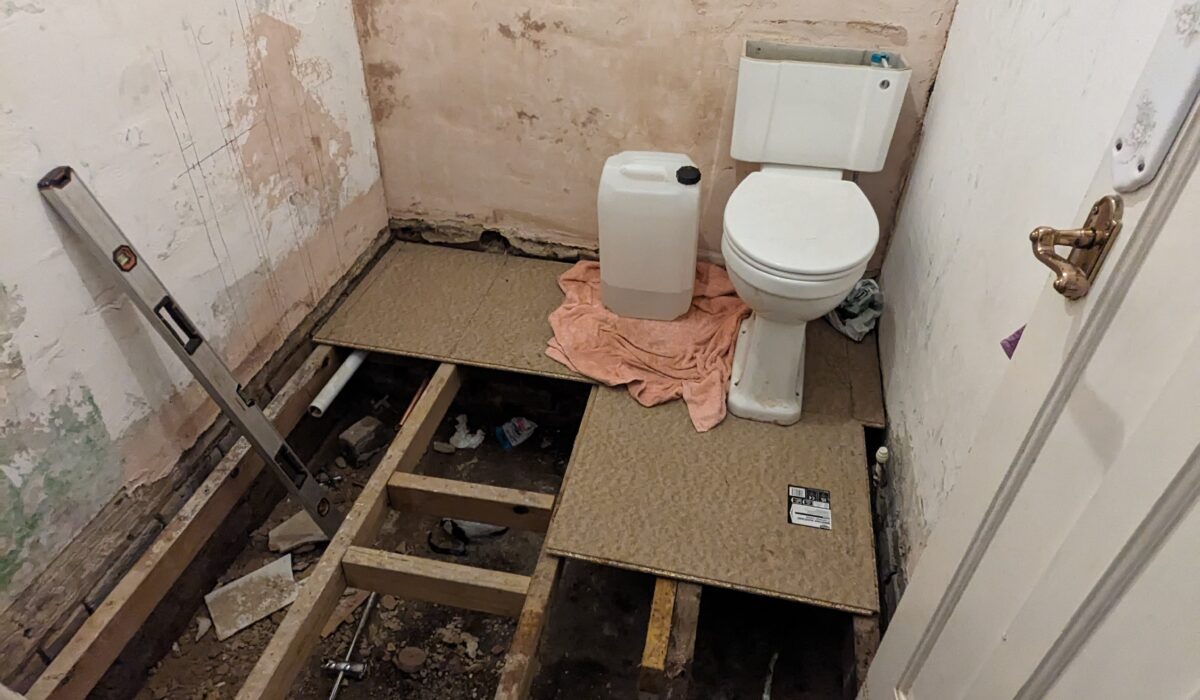
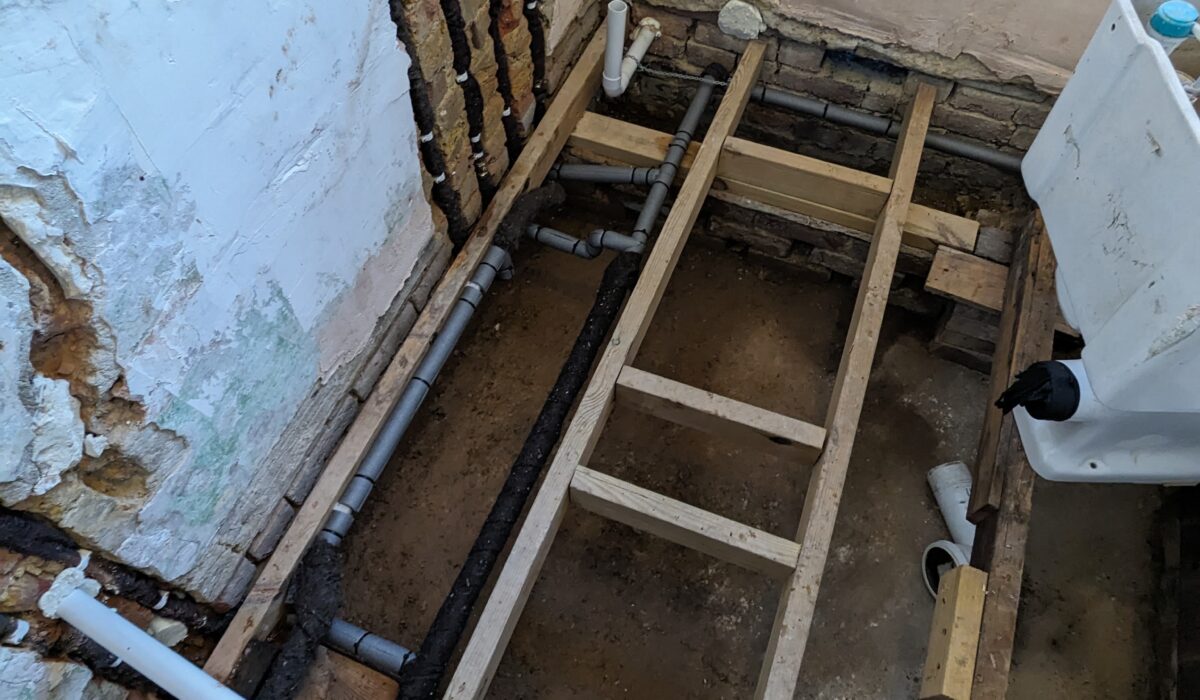
Old floor ripped out, and beginnings of pipe work put in, adapted from the old mains
Remainder of fixings removed and more plumbing put in place
Plumbing pipework and waste installed and fitted into the walls, to be later concreted into place. Pipework had to be installed with millimetre precision
Finishing of the pipe work, installed and lagged to prevent heat loss and freezing during the colder months
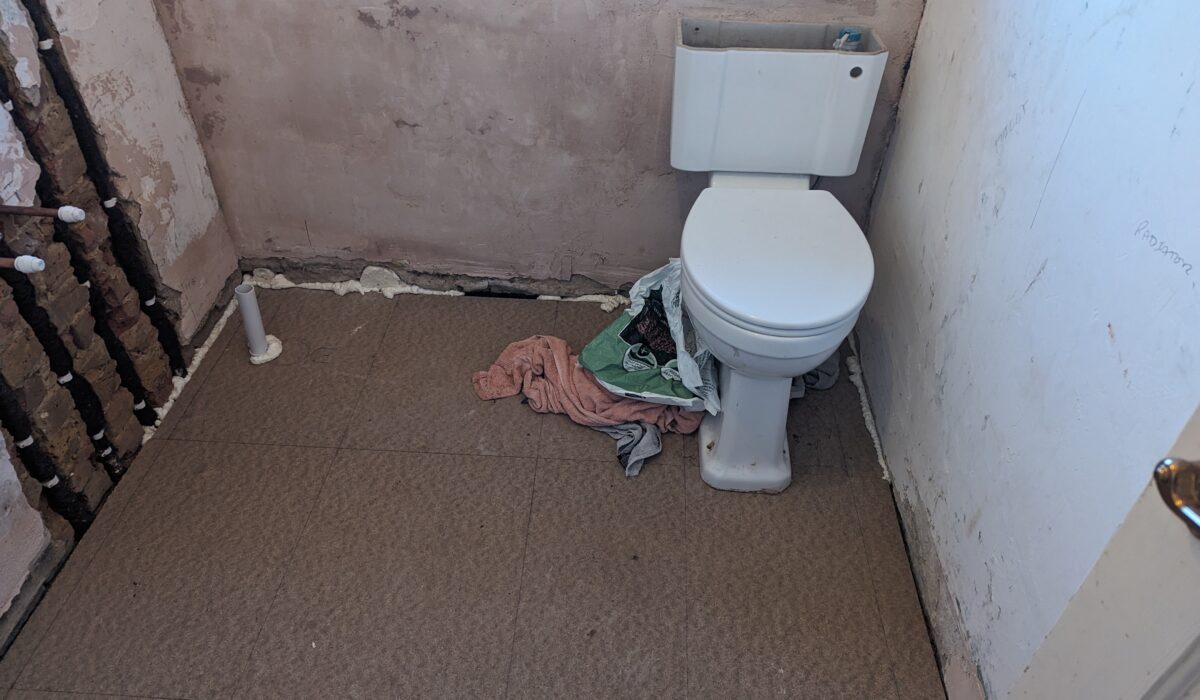
under floor pipe work installed and new floor laid and insulated to prevent ingress of insects and cold draughts as was previously experienced
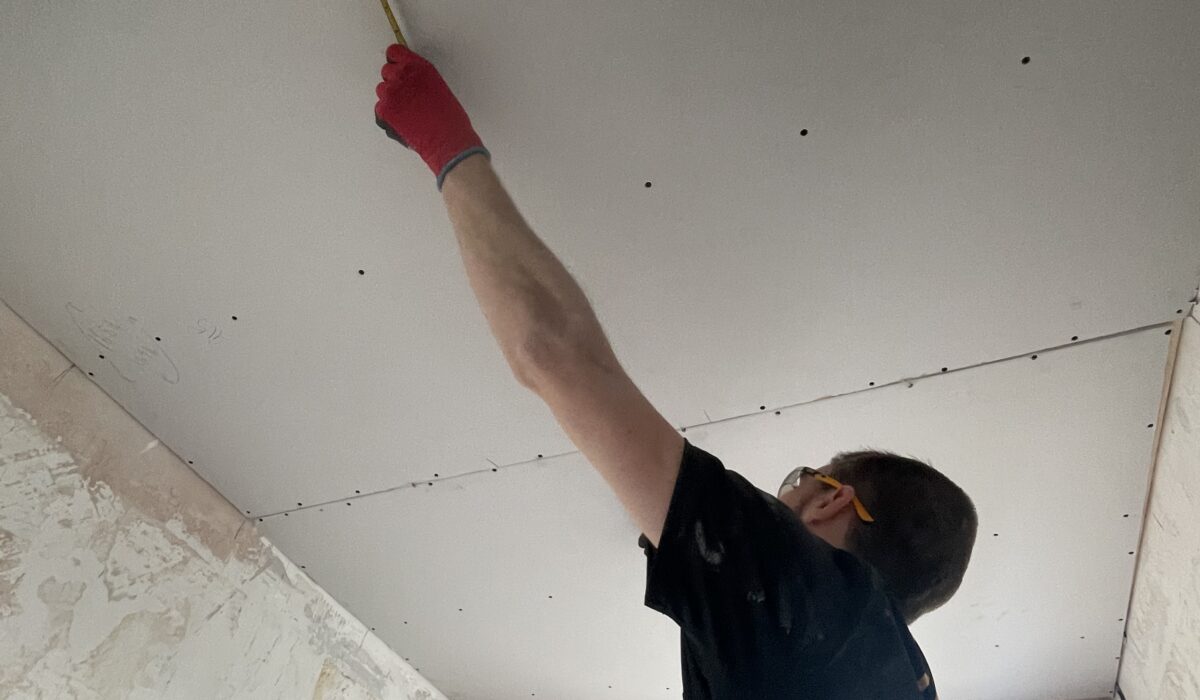
Construction of false ceiling to provide a level, sturdy and lower platform to plasterboard and fit the new ceiling panels onto
Ceiling plasterboard installed and temporary pendant light in place
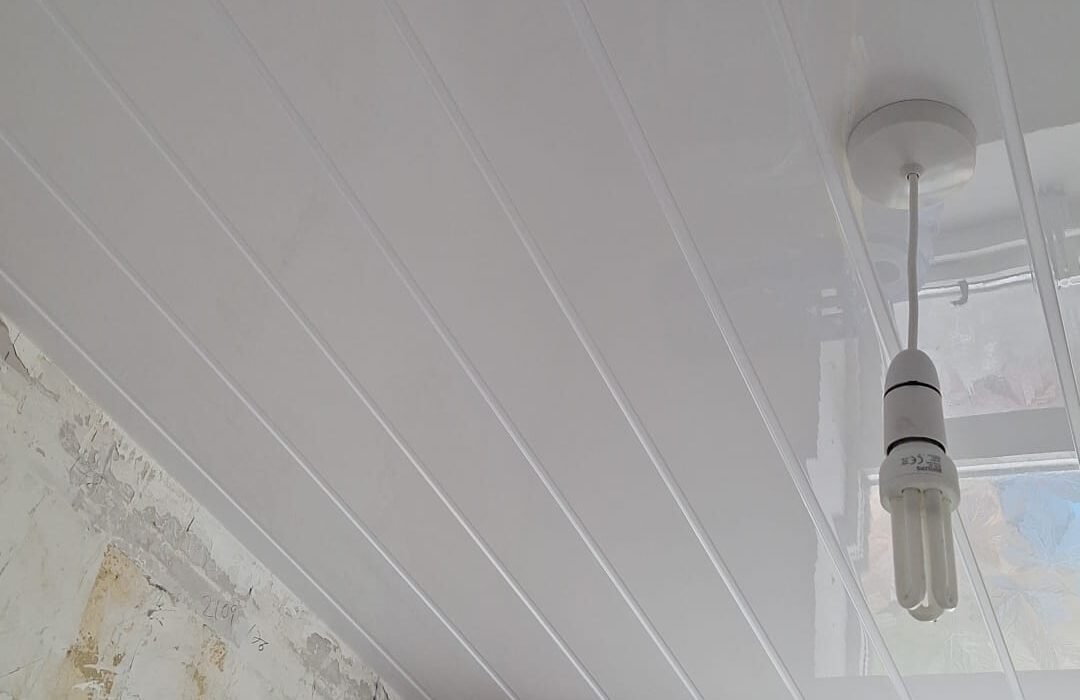
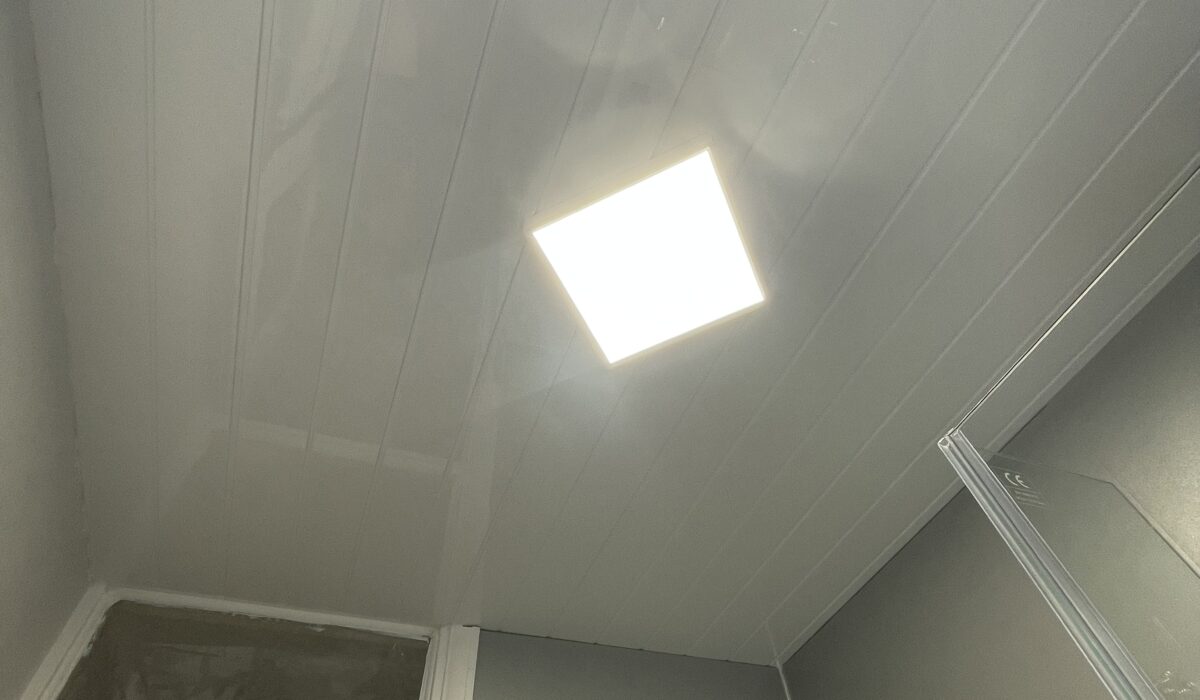
Ceiling panelled in white PVC tongue and groove effect
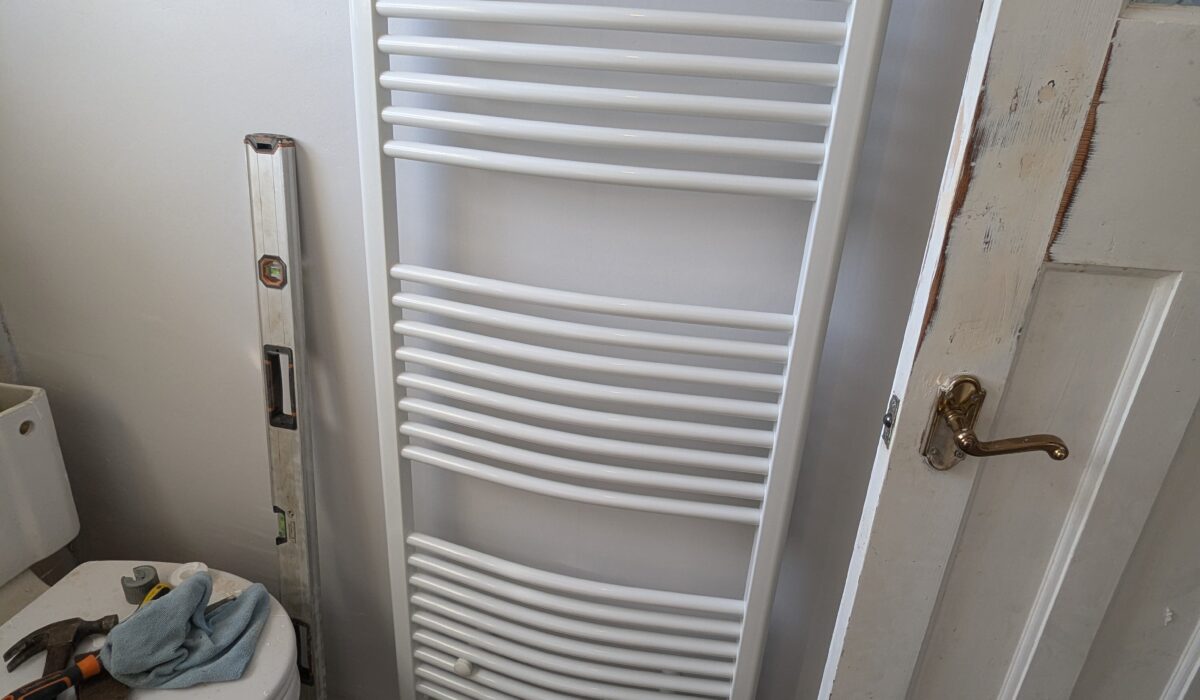
Towel rail with pipes hidden in the wall mounted
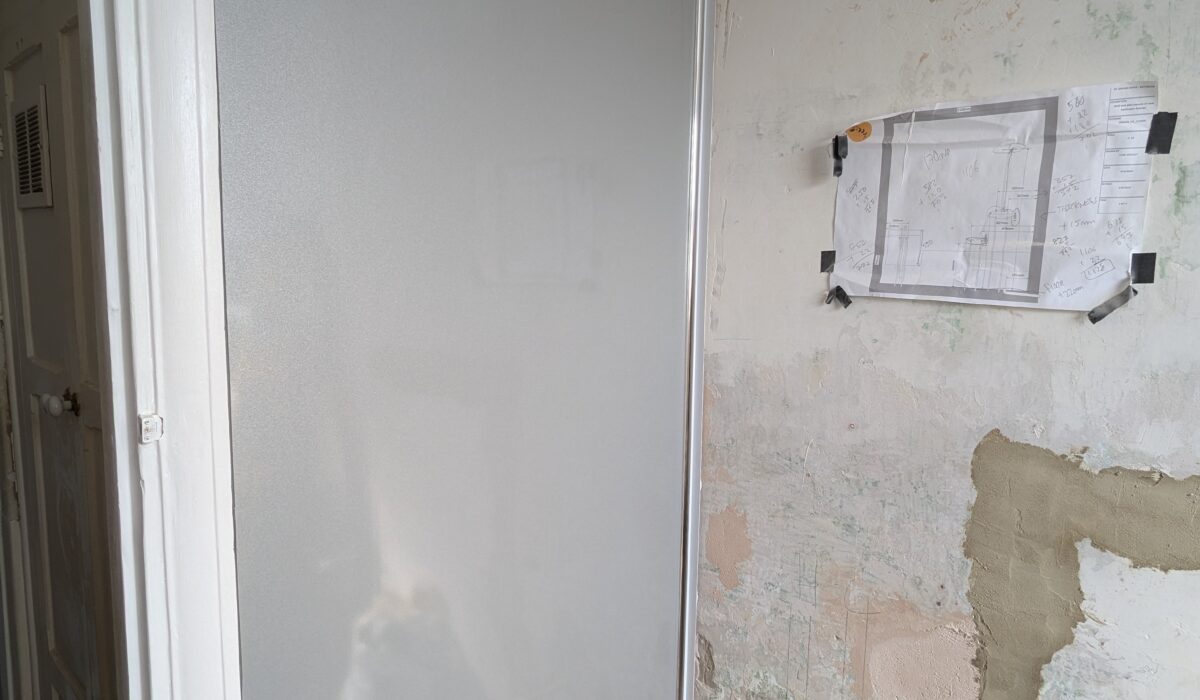
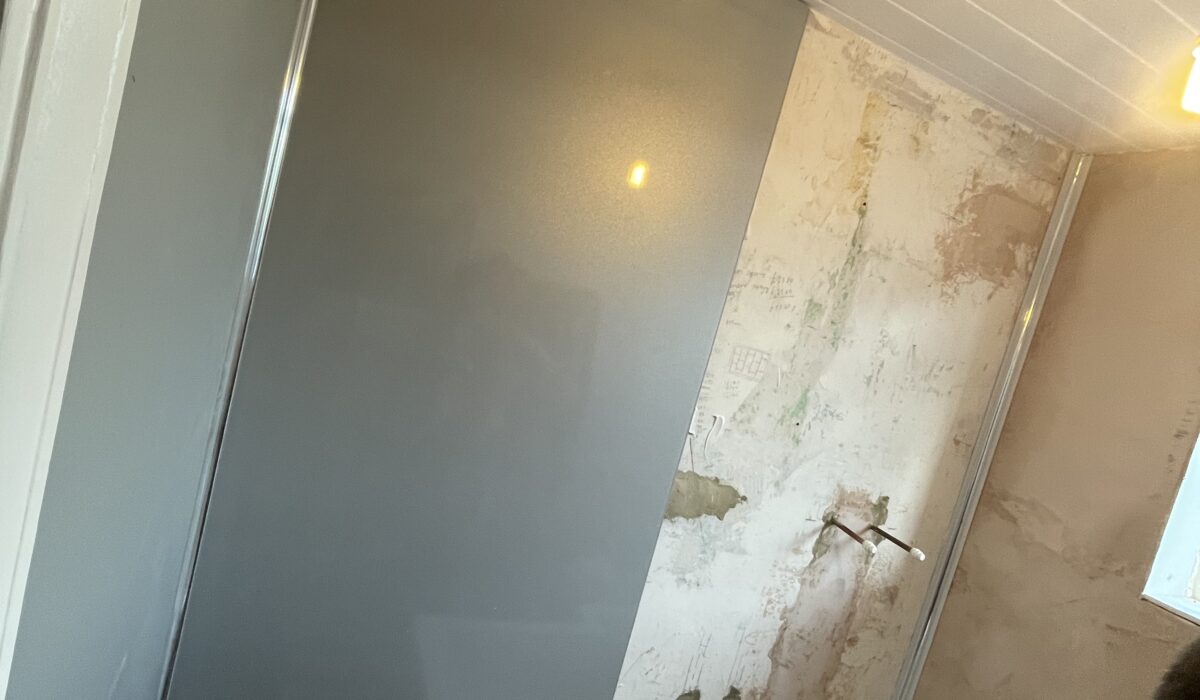
First wall PVC panelling installed
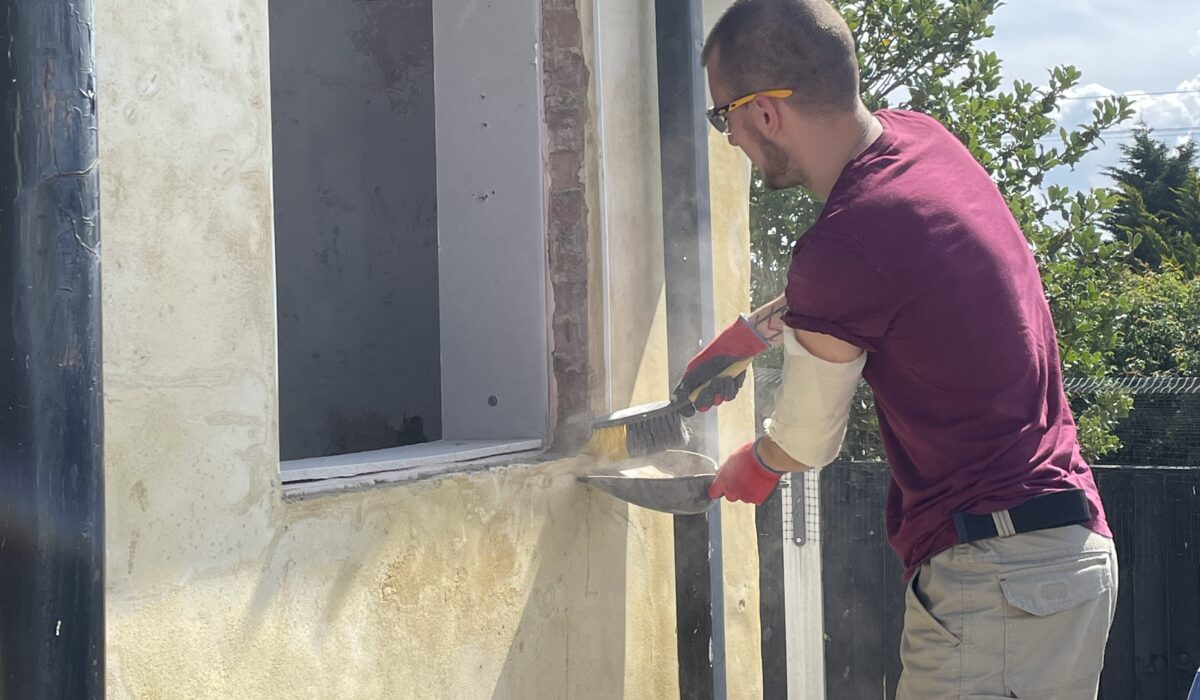
Old window removed, reveal cleaned and swept for install of new window
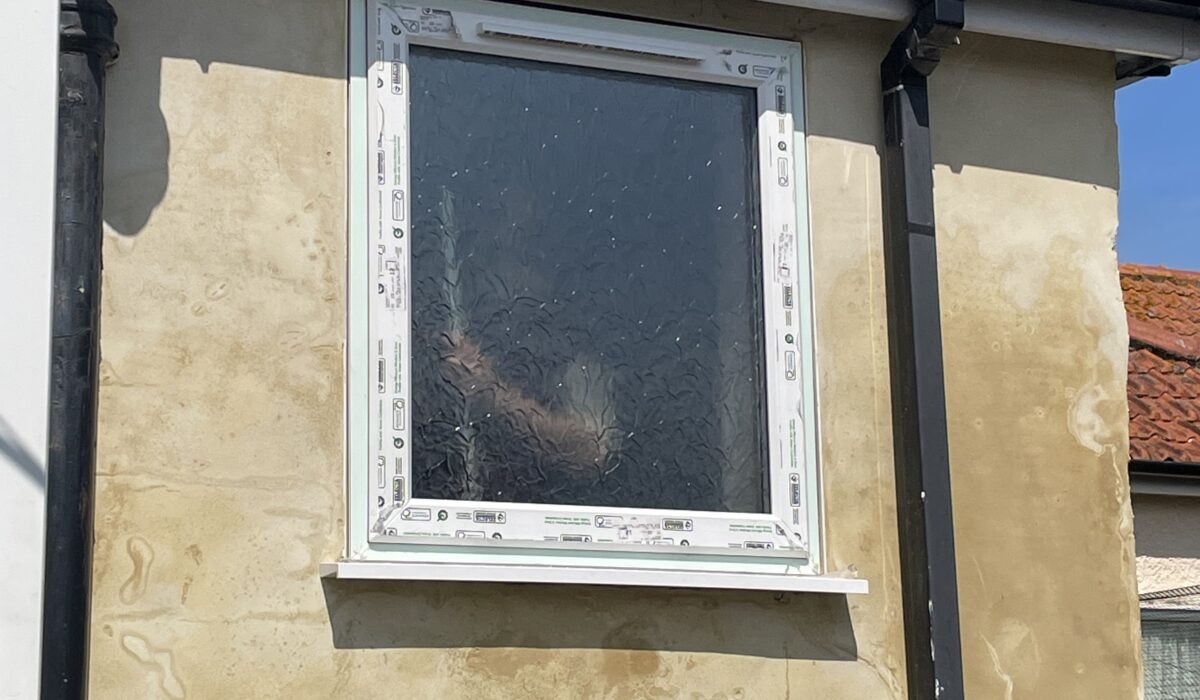
First shot of window installed
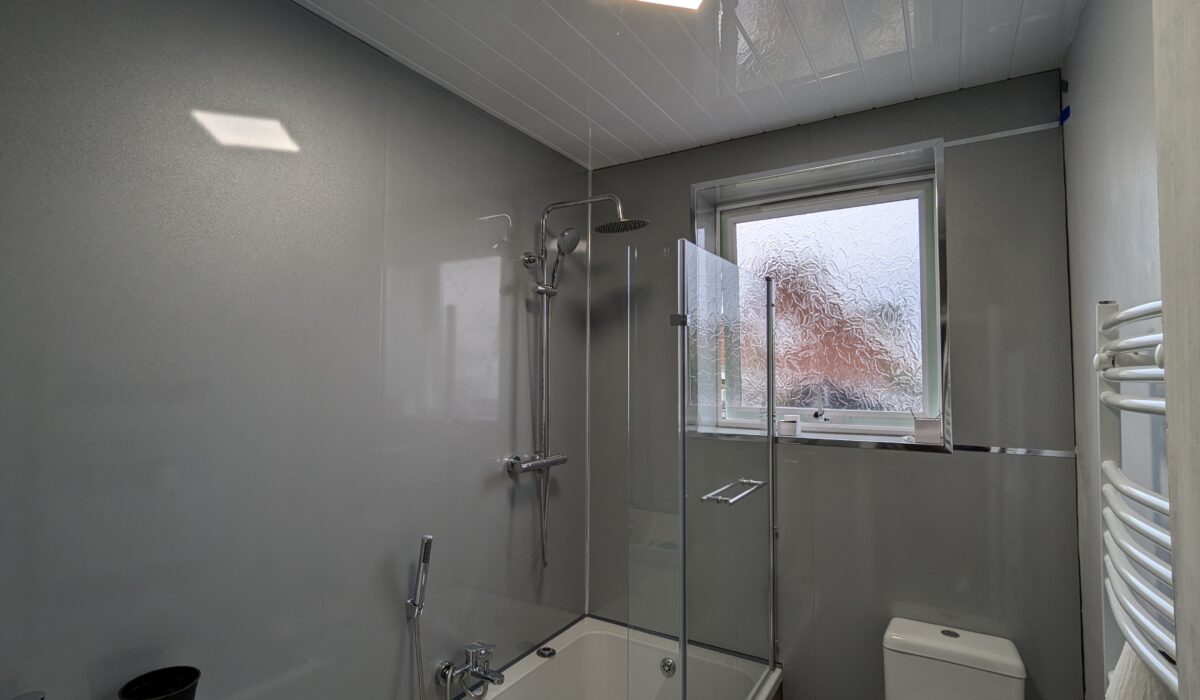
Shot of the new window in place, 'frosted' effect glass for privacy, sealed insulated
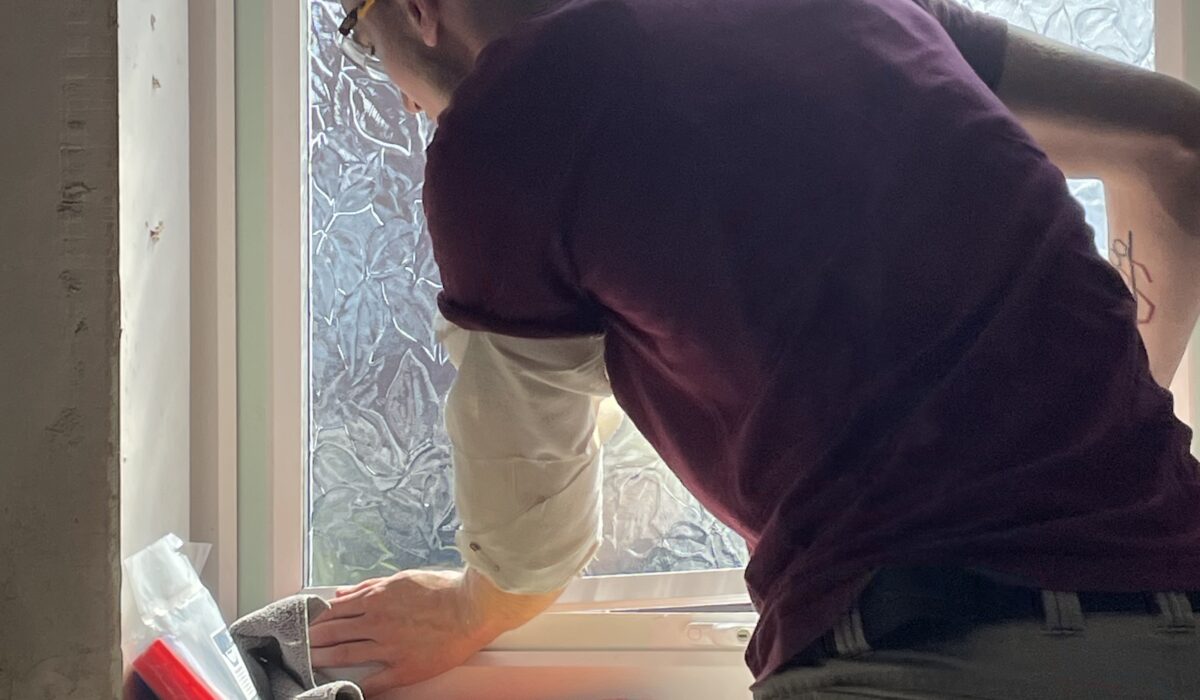
Interior of window reveal being sealed and insulated
Second panel installed
Continuation of panelling around the bath installed
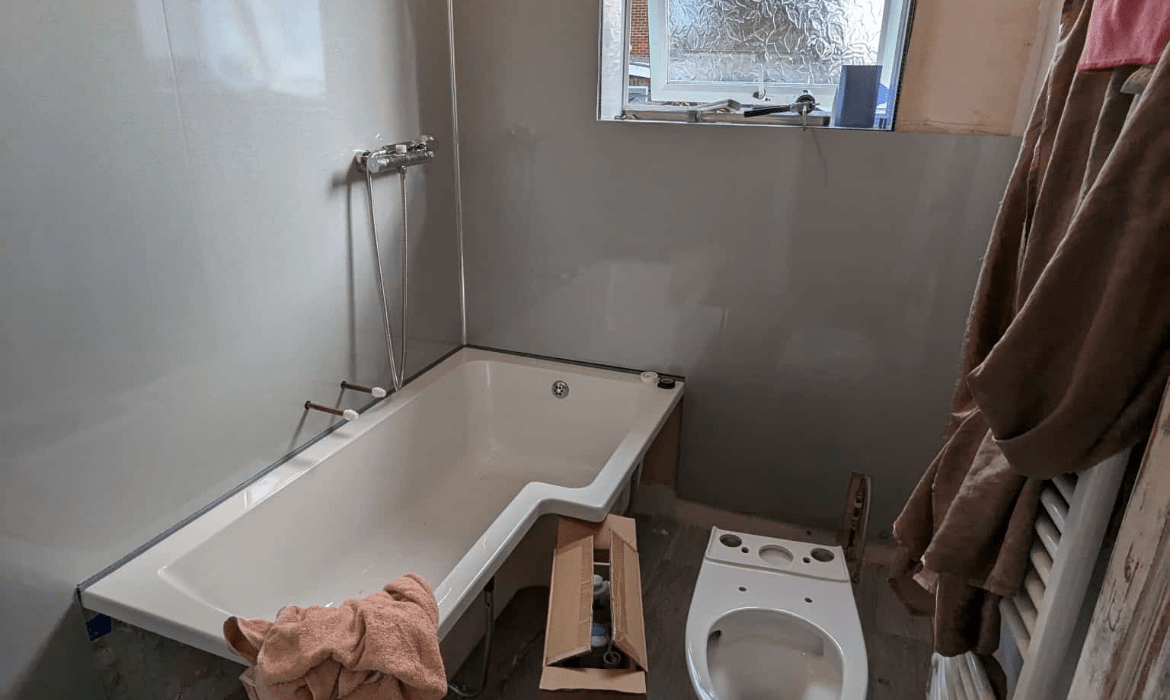
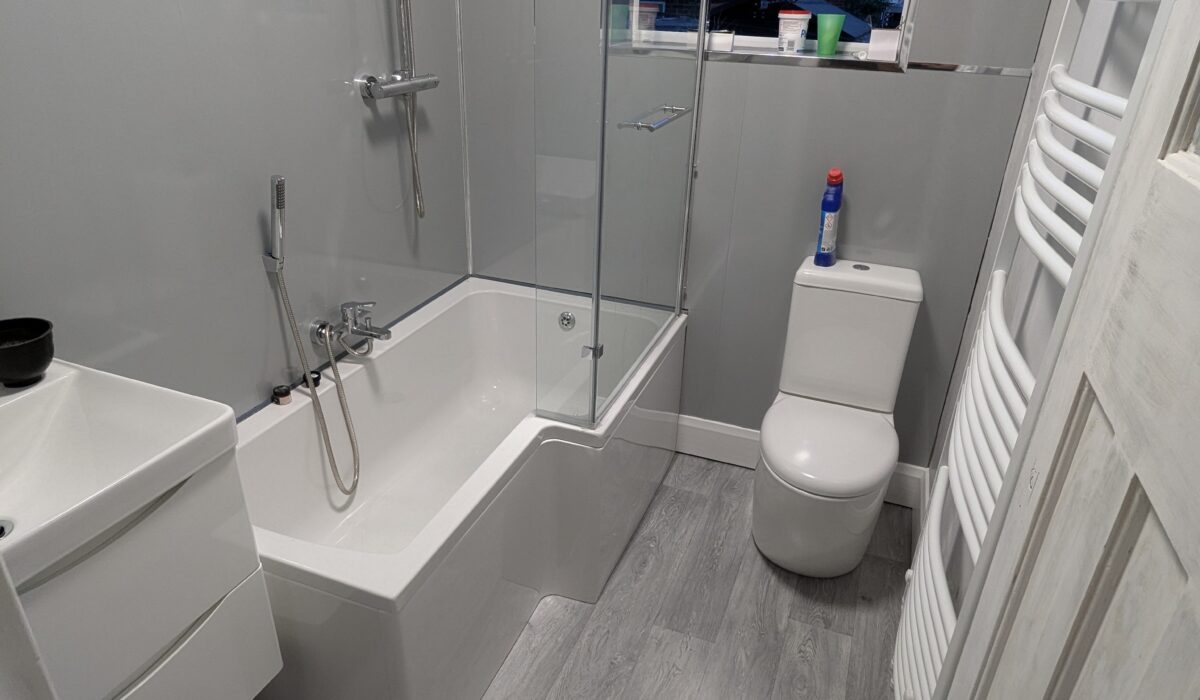
Panelling nearly complete, toilet ready to be installed flush to the wall
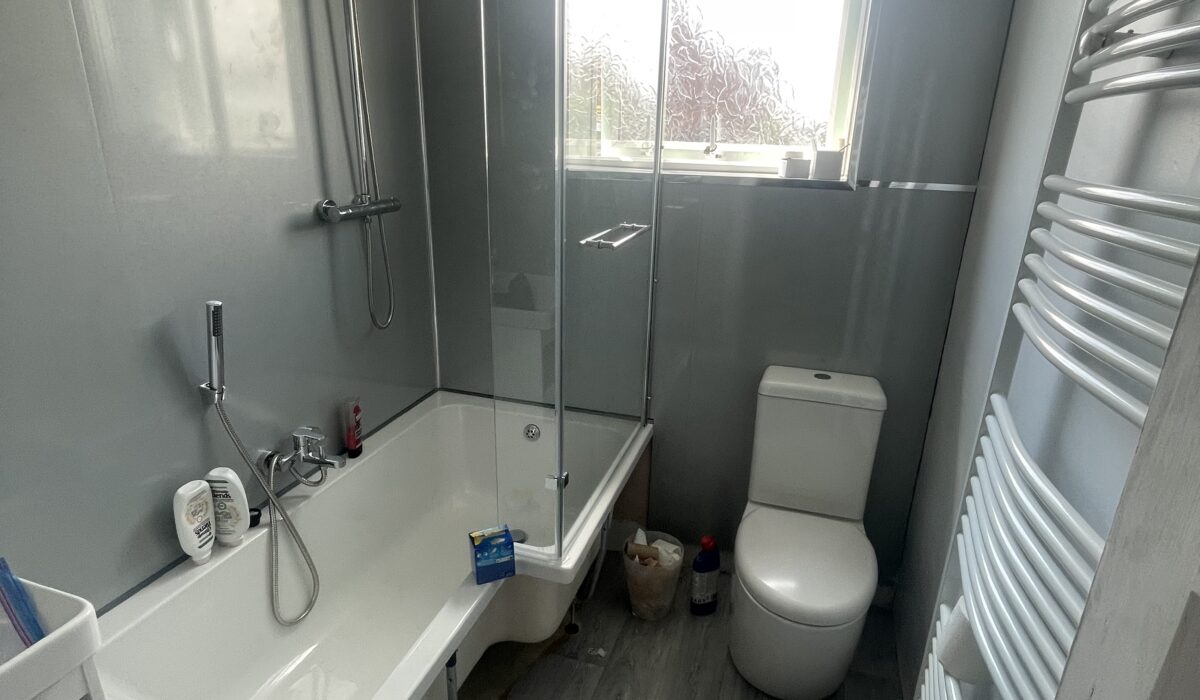
PVC wall panelling almost completed, toilet installed and thermostatic shower bar
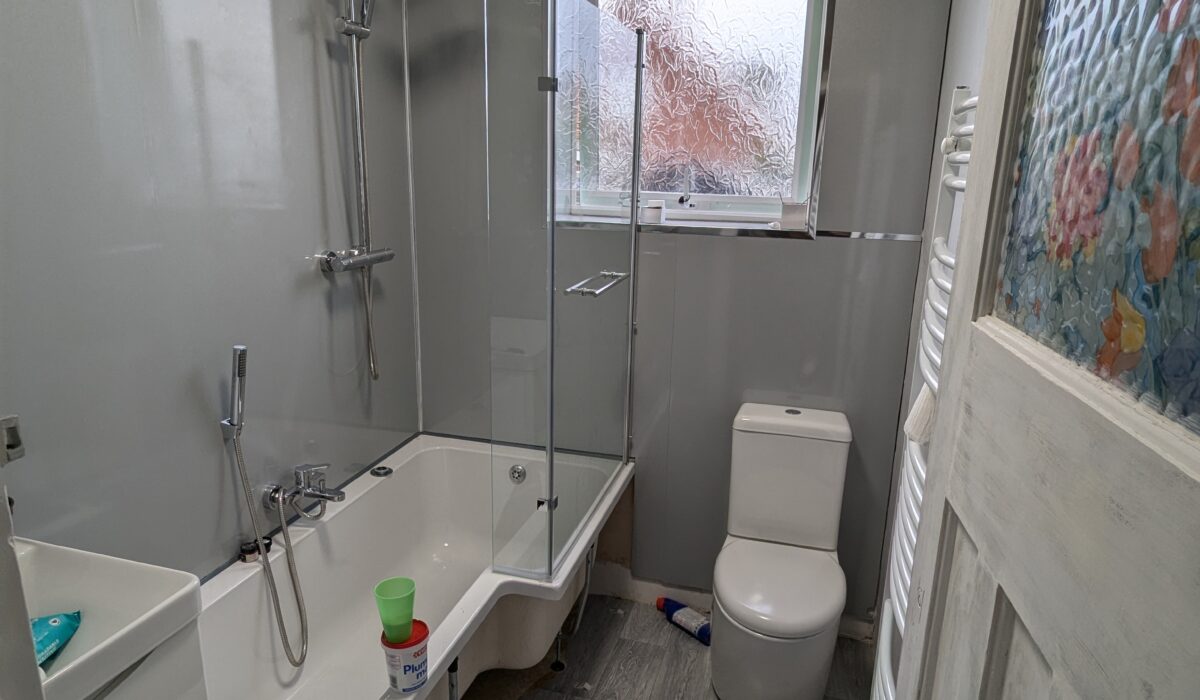
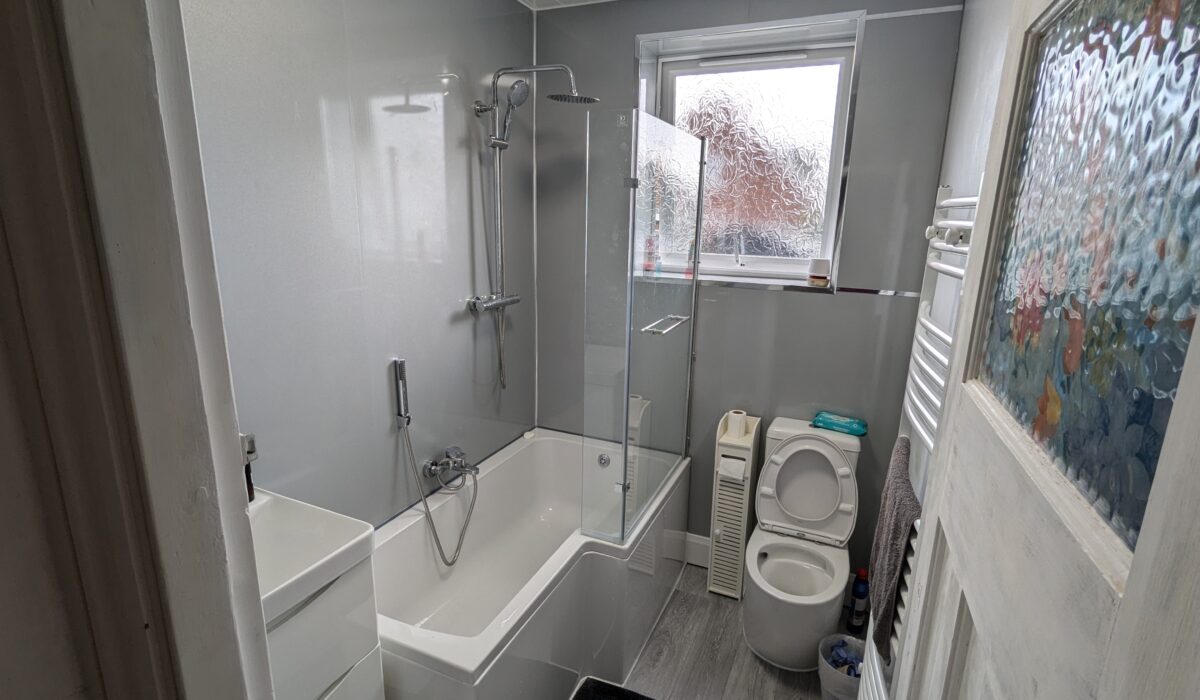
Bath, sink, shower, shower screen, towel rail and toilet all installed
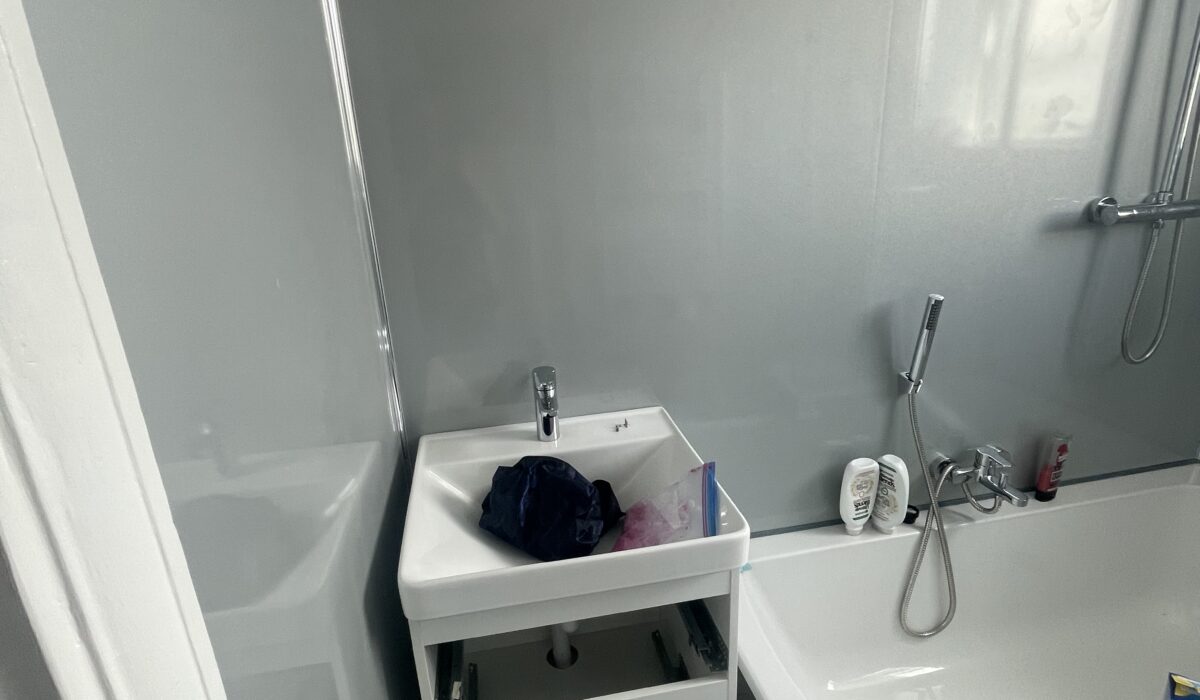
Installed floating sink and vanity unit
Square low profile LED luminaire installed in a diamond against the ceiling panels
Shower screen fitted in place, a leak from budget B&Q bath fittings was resolved
Wide shot of the almost completed room, the clean panels make the space feel large
Skirting boarding around the base of the walls completed, finishing around the floor
Complete shot of the bathroom, sealed and siliconed and with accessories in place.
Project Overview
£1800
BUDGET
4 Months
DURATION
High
QUALITY
Replacement chipboard floor
Reconfigure the properties water supply through the removal of loft water tank
All ‘hidden’ copper pipework
New waste pipe runs
Wall plaster correction and levelling
Draught proofing
Construction of false ceiling
PVC panelling walls and ceiling
Replacement light fixture
New window and rebuild and correction of the reveal
Vinyl flooring
.. and everything else
You have to start somewhere..
The original thought that eventually kicked this project into full swing. As something that had sat on the side-lines for months, slowly collecting the fixtures and fittings and storing them in the living room, bundled behind a sofa, eventually this project that would slowly end up consuming all my evenings and weekends in the push to finish in a suitable time before visiting family arrived needed to get underway.
It began with the strip out (not pictured here), your typical demolition of ripping out the old in preparation for the new. The goal was to have wall mounted fixtures and all pipes hidden from view, and to make matters worse the plumbing situation was already a nightmare with the toilet being fed from a loft tank which was old, rotting and pointless at this point in the life of the property, now run with a combi boiler and with various pipe alterations over time slowly moving the remaining fixtures over to mains fed and not via the tank.
What come with this was a complete re-piping of the room, not least in fact to bypass a now basically unused, rotting steel mains pipe that was feared to soon be leaking water into the brickwork.
Slotting in the puzzle pieces..
The majority of the early work was spent plastering, filling, sanding, plastering and so on to correct the many issues present over a couple of the walls, one that wouldn’t be panelled and one that was in such a bad shape under the window as all the plaster had flaked off in one giant sheet when removing the attached tiles needed desperately to be patched up and made suitable for gluing PVC panels onto.
The guiding idea..
..Was simple, take the time it needs and do a quality job that shows in the final finish, while battling an ever tightening budget.
This mindset was carried from task to task and sometimes meant delaying the next task or dramatically pushing back progress in order to get materials, or time to be able to complete the current stage correctly, like preparing everything for the bath – but waiting on the window install to be able to move the bath in after, to reduce any chances of damage to the new bath and ensure that quality finish that I was determined to ensure was maintained in the final result.
To conclude..
As someone with prior to this project, close to zero experience with plumbing, plastering, never used or worked with PVC panels and many of the other disciplines required and on show here; this project was at sometimes stressful, other times emboldening at the challenge and success or sometimes setback of facing so many new, varied and skilled tasks.
I leave this project behind with a proud glance at the quality, both in the function and cleanliness of the final result and all be it as the maker, I can see all the little flaws in the design that I’d rather not be there, but perfection is a goal and a rarely achieved one, otherwise we’d be living in a very different world.
Thank you for your time reading, and to my family who gets the use of this bathroom daily – look after it well, and I hope the quality of result present remains for years to come.